The Professional Mold Remediation Process, Step by Step

Quick answer
The order never changes: inspection and moisture assessment, containment under negative air pressure, HEPA air filtration, removal of moldy porous materials, HEPA vacuuming and damp-wiping, then drying verified with moisture meters and clearance testing, ideally by an independent third party, before reconstruction. Fixing the moisture source runs through every step. HomeGuide puts small and medium jobs at 1–3 days, large ones up to 7, and the EPA suggests a professional for areas over about 10 square feet.
About 10 square feet is the point where the EPA suggests calling a professional, and from there the professional mold remediation process follows a disciplined sequence — assessment, containment, removal, cleaning, drying, and verification — designed to remove mold without spreading it through the rest of your home. Knowing what each stage involves helps you ask better questions, recognize a quality contractor from a cut-corner one, and understand exactly what you're paying for. The process makes it obvious why some jobs are worth leaving to people with containment gear and negative-air machines.
This walkthrough covers the full professional mold remediation process the way a reputable, certified remediation company runs it, plus a typical timeline, how it differs from DIY, and the questions worth asking before you sign anything. The same principles apply whether you're vetting a contractor for a single moldy wall or a whole-house job — the order of operations, and the discipline behind each step, is what tells you you've hired the right crew.
1. Inspection and moisture assessment
A proper job starts with finding the problem, not the mold. The remediator inspects visible growth and uses moisture meters and sometimes thermal cameras to find hidden dampness behind walls, under floors, and around plumbing. They identify the moisture source — because, as the EPA emphasizes, remediation fails if the underlying moisture isn't corrected. Some companies recommend third-party testing here; ethically, the company doing the testing ideally shouldn't be the one doing the removal, to avoid a conflict of interest. This stage produces a scope of work and an estimate.
2. Containment
Before anything is disturbed, the work area is isolated so spores don't travel. For larger jobs this means floor-to-ceiling plastic sheeting, sealed zipper doorways, and covered vents. The contained area is often put under negative air pressure using a machine with a HEPA filter, so air flows into the zone and out through filtration rather than escaping into clean parts of the house. HVAC is shut down for the same reason. This containment step is the single biggest practical difference between professional remediation and DIY, and it's why pros can handle large jobs without contaminating the rest of the home.
3. Air filtration
With containment up, crews run air scrubbers — HEPA-filtered units that continuously clean the air inside the contained zone, capturing spores released as moldy materials are disturbed. Negative-air machines vent filtered air outside. Running these throughout the removal phase keeps airborne spore counts down and protects both the workers and your home. This is equipment most homeowners simply don't have, and it's a core reason larger mold jobs shouldn't be DIY.
4. Removal of mold and affected materials
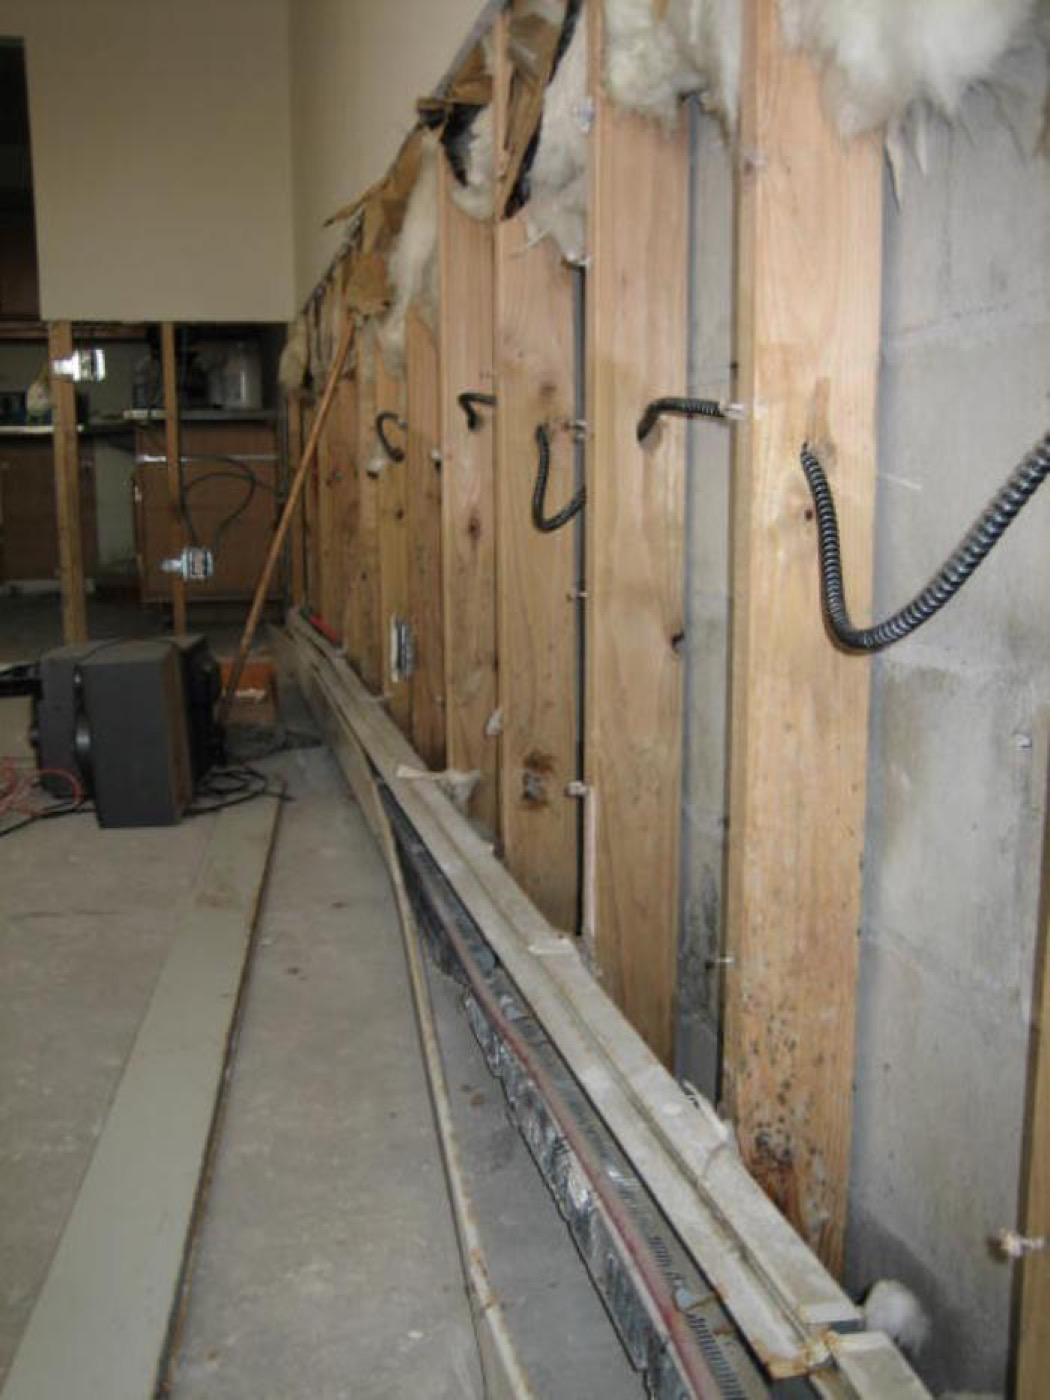
Now the actual remediation. Porous materials that are colonized — moldy drywall, insulation, carpet and padding, ceiling tiles — are removed and bagged in sealed heavy plastic, then taken out through the contained route. Semi-porous and non-porous materials (framing, hard surfaces) that can be saved are cleaned in place. Crews work wet where possible to suppress spores. Everything that leaves is documented. A good contractor removes a margin of clean material around the visible growth to be sure nothing colonized is left behind.
Throughout removal, a reputable crew documents what comes out, often with photos, which is useful if you're filing an insurance claim. They also keep the contained route clean: bagged debris travels out along a defined path, frequently with a HEPA-vacuum pass behind it, so the trip from the work zone to the dumpster doesn't seed spores down your hallway. This is mundane but it's exactly the kind of discipline that separates real remediation from someone just ripping out drywall and hauling it through the living room. If you ever watch a 'remediation' crew skip containment and carry moldy debris straight through occupied space, that's a red flag worth stopping the job over.
5. Cleaning, HEPA vacuuming, and antimicrobial treatment
After removal, all surfaces in the contained area — including framing and the remaining structure — are HEPA-vacuumed and damp-wiped to capture settled spores. The emphasis, consistent with EPA guidance, is on physically removing mold rather than relying on a biocide, because dead mold can still cause reactions. Many companies then apply an EPA-registered antimicrobial or encapsulant as a finishing step, but it follows thorough physical cleaning rather than replacing it. Contents that can be salvaged (furniture, belongings) are cleaned separately, often in a staging area, with hard items wiped down and soft goods evaluated case by case — porous items that are heavily affected may not be salvageable. This contents step is easy to overlook in a quote, so ask how belongings in the work area will be handled. A thorough crew also wipes down adjacent surfaces just outside the immediate growth, because settled spores travel farther than the visible staining suggests. The whole point of this stage is to leave behind clean, sound structure with the mold physically gone rather than merely chemically treated in place.
6. Drying, repair, and clearance testing
The structure must be dried completely — crews use dehumidifiers and air movers and verify with moisture meters before closing anything up. Reputable companies then arrange clearance (post-remediation verification) testing, ideally by an independent third party, to confirm spore levels are back to normal before rebuilding. Only after passing does reconstruction happen: new drywall, insulation, flooring, and paint. Note that remediation and the rebuild are sometimes separate line items or even separate contractors, which affects your total cost — worth clarifying upfront.
The clearance step is worth pushing for on any sizable job. It's tempting to skip it to save the lab fee, but it's the only objective proof that the work actually succeeded rather than just looking finished. Without it, you're closing the wall on faith. With it, you have documentation that the air and surfaces tested normal before reconstruction — which protects you if you sell the home later, or if the problem ever resurfaces and you need to show what was done. When the testing and the removal are handled by different companies, that clearance result carries even more weight because no one with a financial stake in the outcome is grading their own work.
What professionals use, and when each piece is called for
The EPA's remediation guide (Chapter 3 and Chapter 5, Table 2) names the equipment and ties most of it to the size of the moldy area. A quote that lists this equipment is describing real containment; one that does not is describing cleaning.
| Equipment | What it does | When EPA calls for it |
|---|---|---|
| N-95 respirator, gloves, eye protection | Minimum PPE; an N-95 filters 95% of particulates | Under 10 sq ft (minimum PPE) |
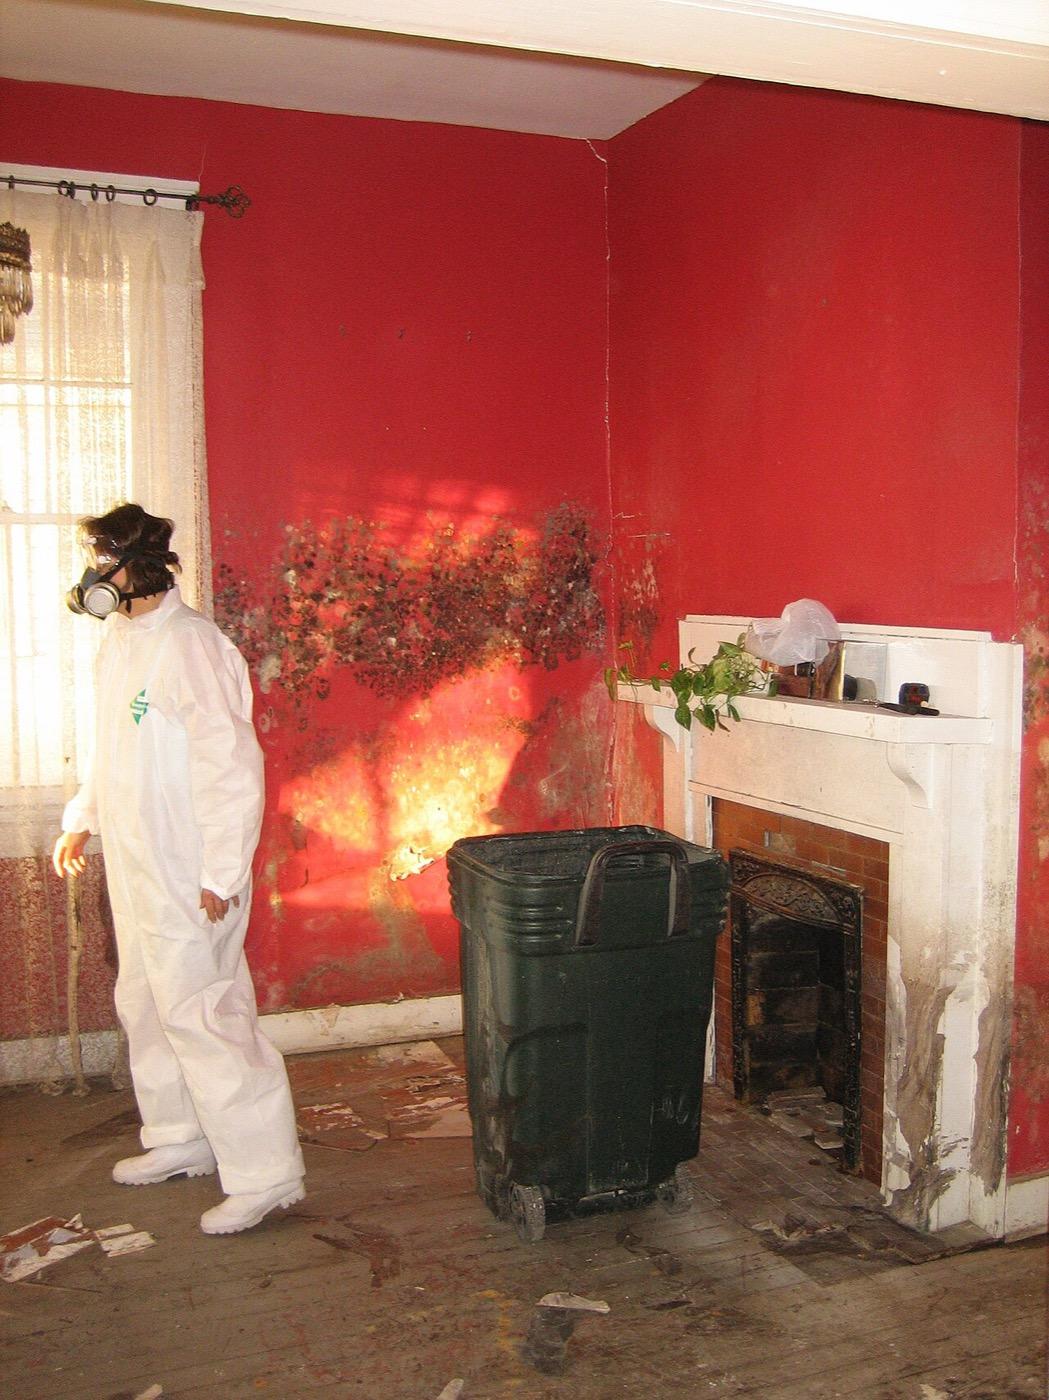
| Half- or full-face air-purifying respirator with HEPA cartridges, disposable overalls | Limited PPE | 10–100 sq ft (limited or full PPE) |
| Full-face powered air-purifying respirator (PAPR), head and foot coverings, body suit | Full PPE | Over 100 sq ft |
| Polyethylene sheeting | Seals the work area; a single layer of 6-mil fire-retardant sheeting with vents and doors sealed is limited containment | 10–100 sq ft (limited containment) |
| Double layer of polyethylene plus a decontamination chamber or airlock | Full containment | Over 100 sq ft |
| HEPA-filtered fan exhausted outside | Keeps the contained area under negative pressure so air flows in, not out | Both limited and full containment |
| HEPA vacuum | Picks up settled spores and debris | After materials are dry, at every tier |
| Moisture meter | Finds wet materials and monitors drying | Assessment and drying (Ch. 3) |
| Humidity meter | Monitors indoor humidity | Assessment and follow-up (Ch. 3) |
Source: U.S. EPA, Mold Remediation in Schools and Commercial Buildings, Chapter 3 (read October 2026) and Chapter 5, Table 2 (read September 2026).
Under 10 square feet, EPA calls for no containment at all, which is why a small patch is usually a homeowner job. From 10 square feet up, the plastic, the negative-air fan and the respirator upgrade are what you are paying a professional for, and their absence on a mid-size job is a reason to ask questions.
Questions to ask and red flags to watch for
The remediation industry has its share of both excellent professionals and opportunists, so it pays to vet a company before signing. Questions to ask any contractor:
- Are your technicians certified (for example, IICRC), and are you licensed and insured? Ask to see proof.
- How will you identify and address the moisture source, not just the visible mold?
- Will you set up containment and negative air pressure, and how?
- Is reconstruction included, or is it a separate cost and contractor?
- Do you arrange independent clearance testing afterward, and are the results shared with you?
- Can you provide a written scope of work and references?
- If the mold followed a sudden event such as a burst pipe, will you document the job for an insurance claim? (See does insurance cover black mold removal.)
Red flags that should make you walk away: a quote given without any inspection or moisture assessment, pressure tactics and fear-based selling ('toxic black mold will poison your family today'), a company that both tests and removes without offering independent verification, refusal to use containment, or a vague verbal estimate with no written scope. A trustworthy remediator is calm, methodical, and focused on the moisture problem — not on scaring you into a same-day signature. Taking a day to get a second quote is almost always worth it, and a legitimate company won't object to it.
Typical timeline and what drives it
HomeGuide is the only source in this site's register that publishes a duration, and it gives it by job size, not by phase:
| Job size | Typical duration |
|---|---|
| Small or medium job | 1–3 days |
| Large job | Up to 7 days |
Source: HomeGuide, Mold Removal Cost (February 2026), read September 2026.
No source here publishes separate times for containment setup, drying, lab turnaround on clearance samples, or reconstruction, so ask the contractor for each: how long the containment stays up, how they will decide drying is finished (EPA notes moisture meters "can also be used to monitor the process of drying damaged materials"), how many days the clearance lab takes, and when the rebuild crew can start. Contaminated-water situations and extensive rebuilds push the total longer. Costs scale similarly; see the cost pages linked below for current 2026 figures by area and project type.