Does Basement Mold Start From the Bottom or the Top?

Does basement mold start from the bottom or the top? Both happen, and which one you have is genuinely diagnostic — the height at which growth begins tells you where the water is coming from, and that determines whether you need a dehumidifier, a downpipe extension, or a plumber.
The short version: growth starting low usually means ground moisture. Growth starting high usually means condensation or water arriving from the floor above. Growth in a band at one specific height usually means a past water level. Read the wall before you clean it.
From Sukie's experience
In our basement, the growth started along the bottom eighteen inches of the block wall, worst behind the washing machine. I spent months assuming laundry humidity was the cause. It was groundwater — the pattern was telling me the truth all along, since humidity would have put growth on the cool upper walls and ceiling instead.
Bottom-up growth: what it means and what to do
When mold appears along the base of a basement wall — on the bottom foot or two of masonry, on the sill plate, on the back of baseboards, or spreading out from the joint where wall meets floor — you are almost always looking at ground moisture.
The mechanism is that soil around a foundation holds water, and concrete and block are porous enough to move it. Two processes do the work. Capillary action wicks moisture upward through masonry from wet ground, which is why growth can appear a foot or more above the floor with no crack anywhere. Hydrostatic pressure is saturated soil physically pushing water through the wall, which produces damp that gets noticeably worse after heavy rain and often shows at the cove joint where the wall meets the slab.
The signature to look for is a growth zone that is worst at the very bottom and fades as it goes up, with a fairly soft upper boundary. Efflorescence — that white crystalline deposit — frequently accompanies it, because the same water carrying minerals out of the masonry is the water feeding the mold.
What actually fixes it lives outside, not in the basement:
- Check where your downpipes discharge. A downpipe emptying beside the foundation delivers hundreds of gallons directly against the wall during a storm. Extending it four to six feet away costs very little and is frequently decisive on its own.
- Check the grading. Ground should slope away from the house — roughly six inches of fall over the first ten feet. Soil settles over the years and often ends up sloping back toward the wall.
- Clear the gutters. Overflowing gutters dump water at the foundation regardless of where the downpipes go.
- Look at window wells for standing water and blocked drains.
- Consider interior drainage — a perimeter drain and sump — if the above does not resolve it. That is contractor work and a real expense, but it is the answer for genuinely high water tables.
Cleaning the wall without doing at least the first three is a temporary measure. The growth returns because the water does.
Top-down growth: condensation, or something from upstairs
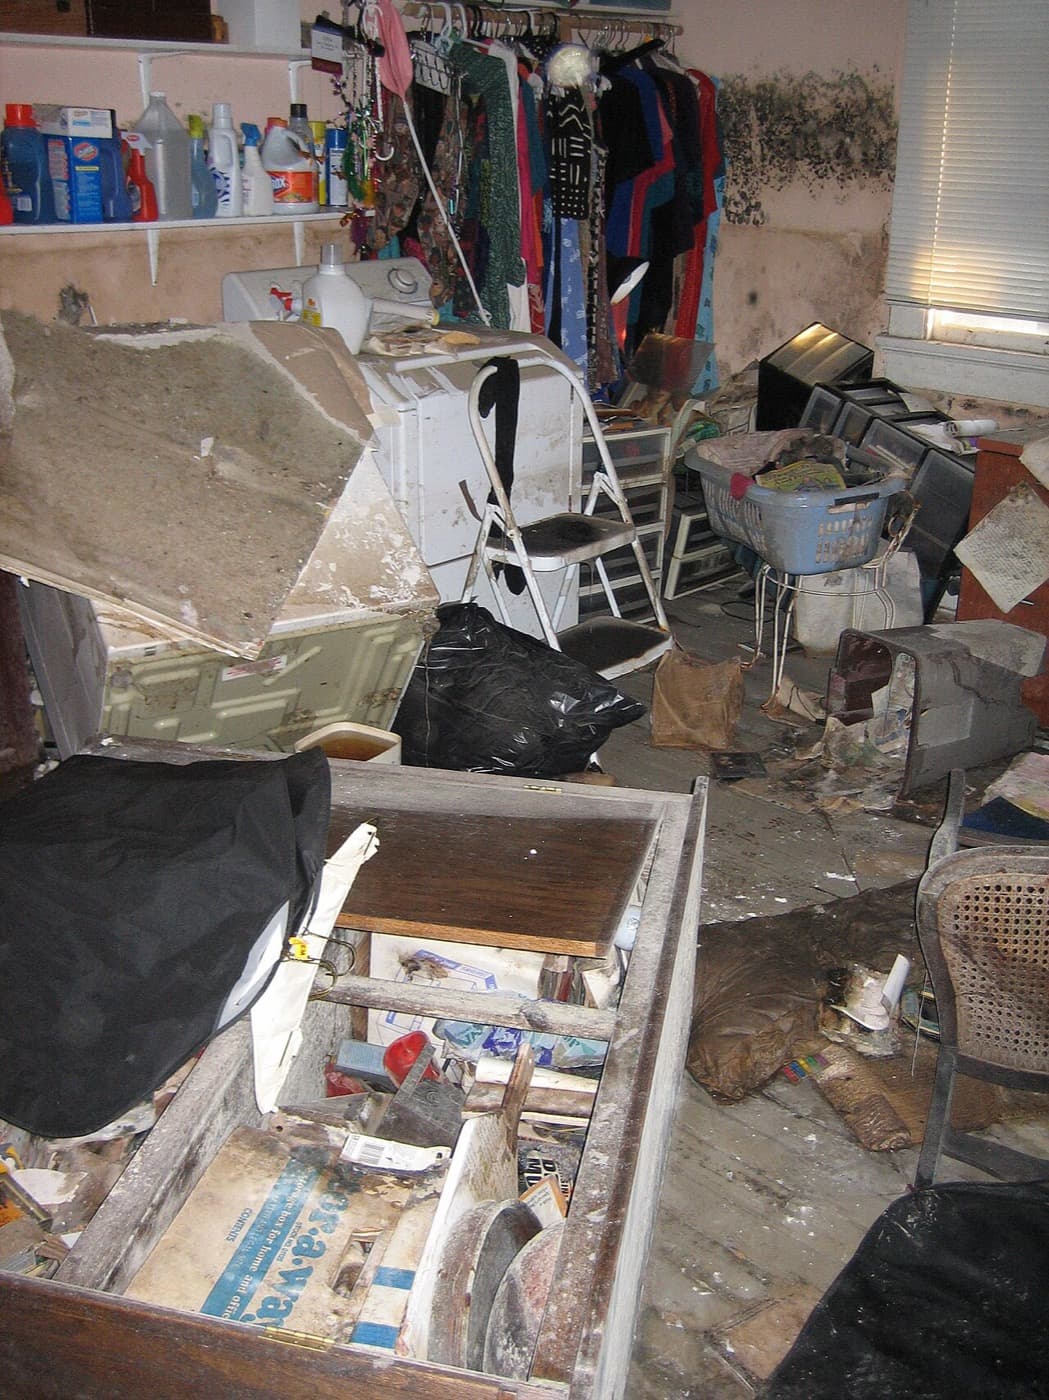
Growth starting high — on the upper portion of walls, on the ceiling, on floor joists, on ductwork, or in the rim joist area where the framing sits on the foundation — points to one of two very different causes.
Condensation is the more common of the two, and it is a distinctly seasonal problem. Basements stay cool year-round. In summer, warm humid outdoor air enters and meets those cool surfaces, and moisture condenses out onto them — walls, cold water pipes, ducting, the underside of the floor above. This is why growth often appears in a diffuse film across upper surfaces rather than in a defined patch, and why it typically worsens through humid months and eases in winter.
It is also why opening basement windows in July makes things worse rather than better. Every hour of that ventilation imports humid air into a cold space. The counterintuitive correct move in a humid summer is to keep the basement closed and run a dehumidifier.
Water from above is the other cause, and it looks different: a defined patch or a vertical run rather than a diffuse film. A leaking supply line, a failed toilet seal, a dishwasher or washing machine on the floor above, or a bathroom whose waste pipe passes through the basement ceiling. Look directly above the growth and work out what fixture sits there. Staining on the underside of subfloor or on joists that traces back to a single point is the classic signature.
The distinction is worth getting right because the fixes share nothing. Condensation needs a dehumidifier, insulation on cold pipes and ducts, and disciplined summer ventilation. A leak needs a plumber.
Not sure if it's a DIY job or a pro job?
Get a ballpark price first, then decide.
Estimate my removal cost →Matching the fix to the direction
Once you know which direction your growth started from, the response follows fairly mechanically. The mistake almost everyone makes is applying a bottom-up fix to a top-down problem or vice versa — running a dehumidifier against groundwater, or regrading the garden against a leaking toilet upstairs.
If it started at the bottom, spend your first dollar outside rather than inside. Downpipe extensions, grading, gutter clearance. Then, indoors, get stored belongings off the floor and onto shelving, remove cardboard entirely — it is both food and a moisture reservoir — and pull shelving a couple of inches off the masonry so air can move behind it. If baseboards or the bottom of stud walls are affected, those are porous materials and generally need removing rather than cleaning; the masonry behind them can be cleaned and kept.
If it started at the top and it is seasonal, buy a dehumidifier sized for the space and a cheap hygrometer to verify it is actually working. Target relative humidity below 50%. Insulate cold water pipes and any ducting running through the space, since those are the coldest surfaces available and condense first. Resist the instinct to ventilate on humid days.
If it started at the top and it is localised, stop and find the fixture above it before doing any cleaning at all. Cleaning a leak-fed patch is purely cosmetic and the growth returns on the leak's schedule.
For the cleaning itself, the method is the same regardless of direction. Wear an N95, gloves and sealed eye protection. Mist the surface before touching it so spores stay put. Scrub masonry with detergent and a stiff nylon brush, which does most of the work, then treat with 3% hydrogen peroxide or a borax solution and allow ten to fifteen minutes of dwell time before a second scrub. Dry hard afterwards with fans and a dehumidifier for several days — concrete releases water slowly. Our step-by-step guide to removing black mold from concrete covers the detail, including when a surface needs sealing afterwards and when sealing would trap moisture in.
The middle band, and reading the wall properly
There is a third pattern that confuses people: growth in a horizontal band at some height up the wall, with clean masonry above and below it.
That is a water line. The basement flooded, or held standing water, to that height — possibly years ago and possibly before you owned the house. Materials sat wet to that level, mold established there, and the band persists as a record of it. If the band sits at, say, fourteen inches, the water stood fourteen inches deep. This is worth knowing when buying a house; a tide-line of growth in a basement is a documented flooding history that a fresh coat of paint would have hidden.
More generally, the reading exercise is worth doing carefully before you touch anything, because cleaning erases the evidence. Take a torch, hold it nearly flat against the wall so the light rakes across the surface, and walk the perimeter. Note where growth starts, where it stops, whether the boundaries are sharp or gradual, and whether it correlates with anything — a fixture above, a corner, an exterior wall, the spot where a downpipe lands outside.
Then take photographs. Wide, mid and close, with something for scale. If you later deal with a contractor, an insurer or a landlord, that documentation is worth considerably more than a description from memory.
A moisture meter, at twenty to forty dollars, turns this from interpretation into measurement. Take readings in a grid across the wall and compare them against a wall you know is dry. Elevated readings low down confirm ground moisture; elevated readings high up with a dry base point to condensation or a leak above. Our guide to black mold in the basement covers the full picture, and what causes black mold works through every household moisture source in order.
Two closing notes on safety. If the water involved was sewage or floodwater, this is not a homeowner cleanup — the CDC is clear about contamination beyond the mold itself. And if the affected area exceeds roughly ten square feet, or growth has reached framing or ducting, the EPA's threshold guidance puts it in professional territory. Our basement mold removal cost page and the cost estimator will tell you what that should run before you start taking quotes.
Get a realistic price before you call anyone
Use our free Black Mold Removal Cost Estimator to get a tailored price range for your room, size, and severity — built from current national and regional pricing data. Then you'll know whether a contractor quote is fair before you commit.
Open the Cost Estimator →