How to Remove Black Mold: The Complete Method, Any Surface

How to remove black mold is really two questions wearing one coat: what do I put on it, and — much more importantly — how do I stop it coming back? The internet is drowning in answers to the first question and strangely quiet on the second, which is why so many people scrub the same patch every six weeks and conclude that mold is invincible.
It isn't. Mold removal is a solved problem with a fixed sequence: stop the water, protect yourself, remove the growth, dry the structure hard, and keep the humidity down. Every surface-specific technique is a variation on that spine. This hub gives you the spine first, then routes you to the exact guide for your surface and situation — walls, drywall, wood, concrete, ceilings, grout, and the products and home remedies that genuinely work.
From Sukie's experience
Between the 1990s bathroom and the basement, I've now removed mold from tile, drywall, framing lumber and painted block. The single biggest lesson wasn't a product — it was that the two jobs where I fixed the moisture first are the two that never came back. The one where I cleaned first and 'got to' the leak a month later is the one I did twice.
18 guides in how to remove it — jump straight to the full list.
Browse all 18 guides ↓The sequence that works on every surface
Before any product recommendations, internalise the order of operations, because doing these steps out of order is the root cause of nearly every failed removal:
- Find and stop the moisture. Leak, condensation, humidity, ground water — something is feeding the colony. Our guide to what causes black mold walks through the eight sources in order of likelihood. Skip this step and everything after it is temporary.
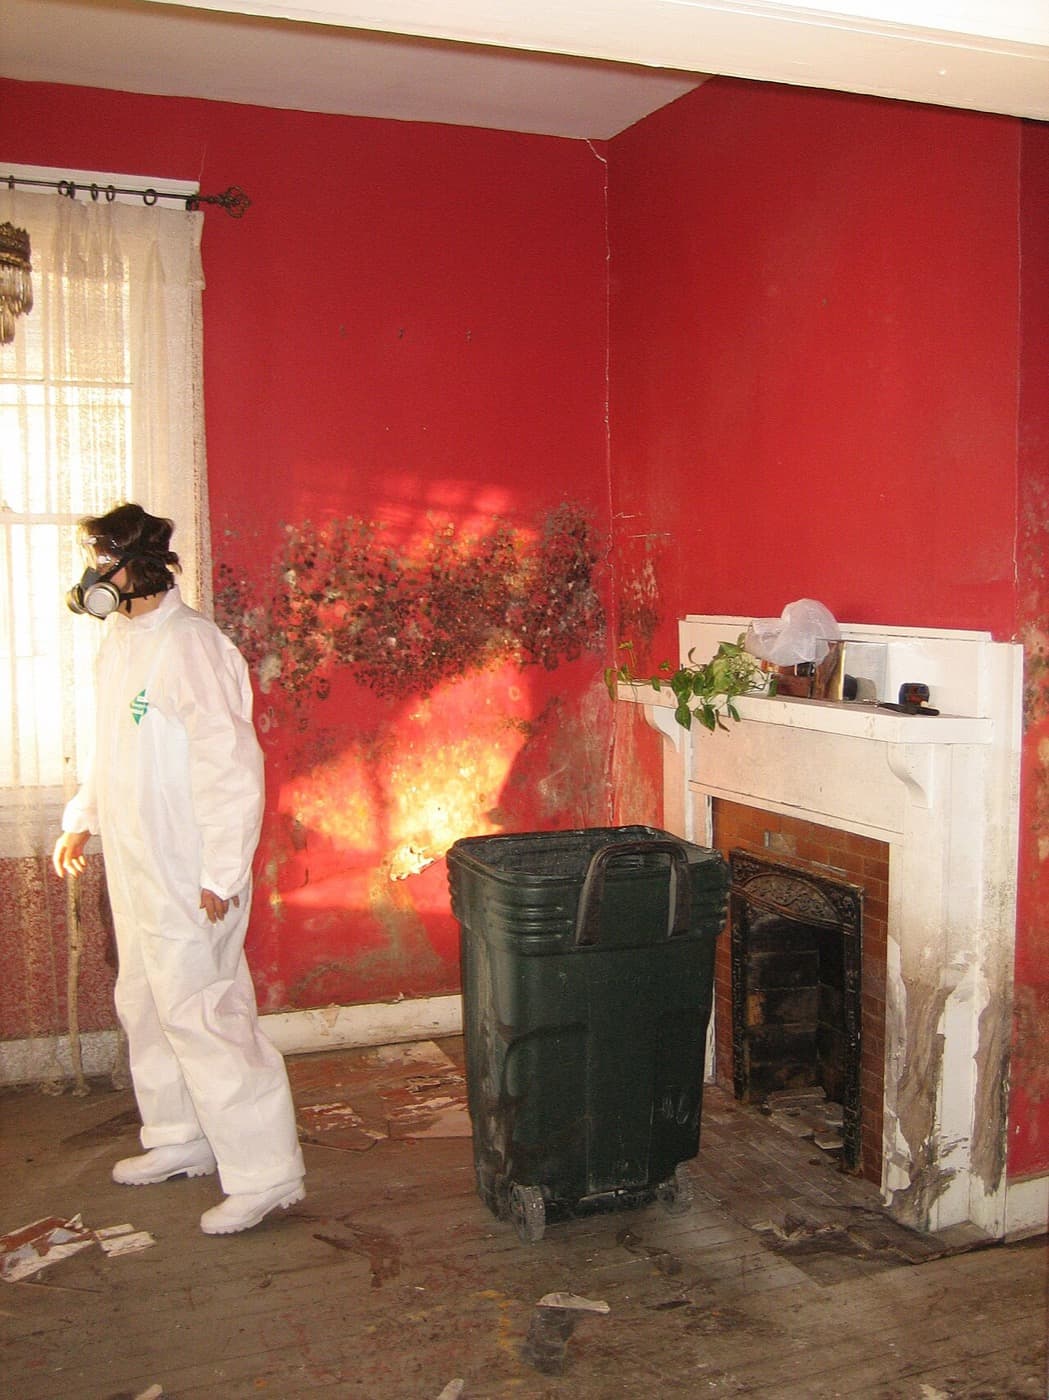
- Protect yourself. N95 respirator minimum, gloves, sealed eye protection. Exposure peaks the moment you start disturbing growth.
- Contain the room. Doors closed, HVAC off, window fan blowing outward, plastic over the doorway for bigger jobs.
- Mist before you touch. Damp mold releases far fewer spores than dry mold. Never dry-brush.
- Remove the growth. Clean non-porous surfaces; cut out porous materials that growth has penetrated. The physical removal matters more than the chemical — the EPA is explicit that killing mold in place isn't the goal, because dead mold still triggers allergies.
- Dry aggressively. Fans plus dehumidifier for days, not hours. Target under 50% relative humidity.
- Dispose cleanly. Bag debris in the room, seal it, straight outside.
That's the whole method. Everything below is about executing it well on your particular surface.
What actually kills black mold (and what just looks like it does)
The chemistry aisle is where homeowners waste the most money, so here is the honest hierarchy. Detergent and scrubbing — the EPA's baseline — removes growth physically and works on any hard surface. Hydrogen peroxide (3%) penetrates slightly into porous surfaces and breaks down clean; it's our default recommendation and the full method is in hydrogen peroxide for black mold. Borax leaves an alkaline residue that inhibits regrowth — uniquely useful on surfaces you can't keep perfectly dry, covered in will borax kill black mold. Vinegar kills many species and is cheap, but smells and lacks residual effect.
Bleach deserves its own sentence: it whitens stains convincingly, barely penetrates porous material, and the EPA does not consider it necessary for routine mold cleanup. If you've bleached the same grout line three times and it keeps greying, that's why — the colony inside the joint was never touched. The full comparison lives in what kills black mold and does bleach kill black mold, and the home-remedy angle in black mold removal home remedies.
The rule that saves the most repeat work: chemistry is for the surface you keep; removal is for the material the mold has entered. No spray fixes soaked drywall.
All 18 how to remove it guides
Every guide in this section — each one covers a specific question in depth.
- What Kills Black MoldWhat kills black mold? Vinegar, hydrogen peroxide, borax, and dedicated cleaners compared — plus why removal matters more than killing, and what to skip.
- Remove Black Mold From WallsHow to remove black mold from walls: painted walls, drywall, and tile each need a different approach. Here's the safe, leak-first method I used in my own home.
- How to Get Rid of Black MoldHow to get rid of black mold safely: fix the moisture, gear up, clean non-porous surfaces, and know when to call a pro. A real homeowner's tested walkthrough.
- Does Bleach Kill Black Mold?Does bleach kill black mold? Yes on hard surfaces, but not on porous drywall or wood — here's why it fails there, the safety risks, and what to use instead.
- Black Mold Removal Home RemediesBlack mold removal home remedies using vinegar, baking soda, peroxide, and borax — with exact recipes, what each is best for, and when to skip DIY entirely.
- Remove Black Mold From DrywallHow to remove black mold from drywall: a step-by-step guide on when you can scrub it clean and when the panel must be cut out, plus PPE and moisture fixes.
- Remove Black Mold From WoodHow to remove black mold from wood: scrub framing, furniture, and trim, sand stubborn stains, and know when wood is too rotted to save. EPA-backed steps.
- Remove Black Mold From CeilingHow to remove black mold from ceiling safely: find the leak or condensation source overhead, use overhead PPE, clean or cut out drywall, and stop it returning.
- Remove Mold From Caulk & GroutHow to remove mold from shower caulk and grout: a clean grout cleaning routine, why moldy caulk usually has to be replaced, and how to keep it from returning.
- Clean Mold Off Walls Before PaintingHow to clean mold off walls before painting so it won't bleed through: remove the mold, fix moisture, dry, prime with a stain-blocker, then paint. EPA steps.
- How to Prevent Black MoldHow to prevent black mold: control humidity, ventilate, fix leaks fast, and stop condensation. A room-by-room, EPA-backed prevention plan that actually holds.
- Will Borax Kill Black Mold?Will borax kill black mold? Yes on hard surfaces, with a real advantage over bleach — but it fails on porous materials. Here's when to use it and how.
- Hydrogen Peroxide for Black MoldHydrogen peroxide for black mold works on more surfaces than bleach and leaves no toxic residue. The right concentration, contact time and method, step by step.
- Removing Black Mold From ConcreteHow to remove black mold from concrete, block and masonry — including why sealed and unsealed surfaces need different treatment, and what efflorescence isn't.
- Black Mold Cleanup ChecklistBlack mold cleanup in the right order: fix the water, contain the room, protect yourself, bag what can't be saved, HEPA-clean, verify. EPA-based.
- Black Mold Remediation ExplainedBlack mold remediation is more than removal: fixing the cause, containing the area, removing growth and verifying it. When it's required, 2026 costs.
- Black Mold Treatment by SurfaceBlack mold treatment is surface-specific: what works on tile, drywall, wood, concrete and ducts, what the evidence says about bleach and vinegar.
- Mildew: The Complete GuideMildew is surface mold on damp grout, fabric, leather and books. Where it grows indoors, how to remove it from each surface and how to keep it from coming back.
Porous, non-porous, and the in-between: matching method to material
Every surface question reduces to one property: can the mold get inside the material?
Non-porous — clean it. Tile, glass, metal, sealed stone, glazed surfaces. Growth sits on top; detergent, peroxide and a stiff brush finish the job. Grout and caulk are the exception hiding in the bathroom: porous joints between non-porous tiles, covered step-by-step in removing mold from shower caulk and grout.
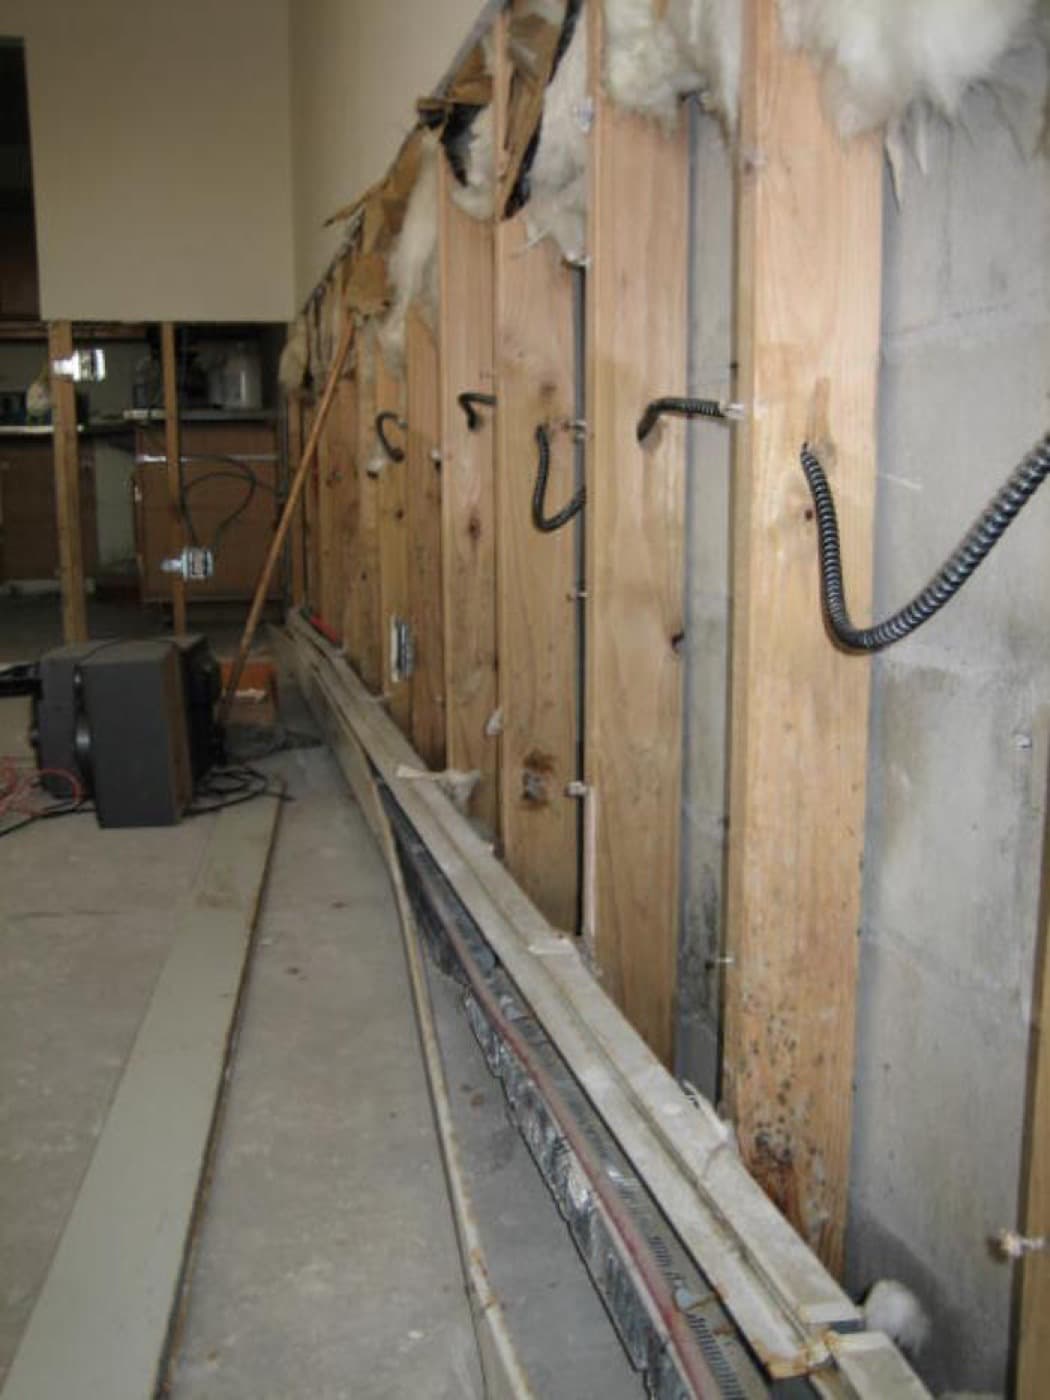
Porous — remove it. Drywall with growth through the paper facing, carpet, ceiling tile, insulation, wallpaper. Cleaning the face of soaked drywall is cosmetic; the colony lives in the gypsum. Where the cut line goes is covered in removing black mold from drywall and the wall-cavity version in black mold behind drywall.
Semi-porous — judgment calls. Wood and concrete both host surface growth that cleans off, and both can be penetrated when neglected long enough. Sound timber usually survives with cleaning and drying (removing black mold from wood); masonry almost never needs replacement but needs mechanical scrubbing and dwell time (removing black mold from concrete). Painted walls and ceilings sit in this category too — see walls, ceilings, and cleaning mold off walls before painting if redecoration is the end goal.
The 10-square-foot line: when this stops being a DIY page
The EPA's threshold is about ten square feet — a patch three feet by three. Beyond that, or regardless of size when the job involves sewage or floodwater, HVAC ducting, hidden growth inside wall cavities, or a household member with asthma or immune compromise, the answer changes from technique to telephone.
This isn't liability boilerplate. Above that scale, proper work means containment barriers, negative air pressure and HEPA filtration — equipment you don't own and shouldn't buy for one job. Disturbing a large colony without it seeds the whole house. What you should know before calling is what a legitimate job looks like (the professional mold remediation process) and what it should cost (our mold removal cost hub and the estimator) — because the difference between an informed customer and an uninformed one is routinely four figures.
After removal: the part that decides whether it worked
The removal isn't finished when the wall looks clean. It's finished when the structure is dry and stays dry.
Dry for days. Fans moving air across the surface, a dehumidifier pulling moisture out of it, and a cheap hygrometer telling you the truth. Materials feel dry long before they are; concrete and framing hold water for a week or more.
Then keep it dry. Relative humidity under 50%, extractor fans that run after showers, furniture off exterior walls, gutters and downspouts doing their jobs. The complete regimen is in how to prevent black mold — the least glamorous and highest-value page on this site.
And watch the spot. A patch that returns within weeks isn't a cleaning failure; it's a diagnosis. Water is still arriving. Recurrence is the signal to go back to step one of the sequence — or to bring in a professional with a moisture meter and a thermal camera, because the source is somewhere you haven't looked.
Your kit: what to actually buy before starting
You can do almost every homeowner-scale mold job with about $60 of equipment, most of which you'll use again. Buying it before you start beats improvising halfway through with a wet cloth and held breath.
Protection, non-negotiable: a box of N95 respirators ($15–$25), nitrile or rubber gloves that reach the forearm, and sealed safety goggles — the vented kind let spores straight in. For anything beyond a small patch, a half-face cartridge respirator with P100 filters ($30–$50) is a genuine upgrade and reusable for years; our guide to the best respirator for mold removal covers the choice.
Diagnosis: a moisture meter ($20–$40) is the single highest-value tool on this list. It maps the wet zone, which is almost always larger than the stain, and it tells you when drying is genuinely finished rather than when the surface feels dry. Pair it with a hygrometer ($10–$15) to know your room's actual humidity instead of guessing.
Cleaning: 3% hydrogen peroxide, a box of borax, plain detergent, a stiff nylon brush, a narrow grout brush, spray bottles, microfibre cloths, and heavy-duty bags for debris. Skip the specialist "mold bomb" foggers — they treat air, not the colony. Product-specific picks are in best black mold removal spray and best mold removal products.
Drying: a box fan for the window (blowing out) and, for anything below grade or genuinely wet, a dehumidifier — see best dehumidifier for mold. Renting one for a week is a perfectly reasonable alternative to buying.
Optional but useful: plastic sheeting and painter's tape for containment, a HEPA vacuum if you have access to one, and a headlamp — mold hides in exactly the places with the worst light.
Five mistakes that cause repeat jobs
Almost every "the mold came back" story traces to one of these.
1. Cleaning before fixing the water. The most common by a wide margin. The colony returns on the leak's schedule, not yours.
2. Dry-brushing or scraping. It feels productive and aerosolises an enormous spore load into a room you're standing in — and onto surfaces elsewhere in the house. Always mist first.
3. Painting over it. Mold-resistant paint resists new growth on a clean surface; it does not seal in an existing colony. You get a few months, then bubbling, peeling and the same patch through the new coat. If redecoration is the goal, clean and dry properly first.
4. Stopping when it looks clean. Surfaces dry hours before structures do. Pulling the fans on day two because the wall feels dry leaves moisture in the material — and a fresh colony a month later. This is exactly what a moisture meter prevents.
5. Treating a symptom in the wrong room. Water travels. Growth appearing on a ceiling can originate from a roof, a bathroom above, or a pipe two rooms over. If you can't find a source at the growth, look uphill of it before you start cleaning.
Every removal guide on this site
The listing below is the complete removal cluster — every surface, method and product question we've covered, each in enough depth to actually do the job. If you're not sure which applies, start with the surface you're staring at: that guide will route you from there. And if you're still at the "is this even mold?" stage, the identification hub comes first — a surprising share of black wall marks turn out to be soot, ghosting or old stains that no amount of peroxide will change.
Get a realistic price before you call anyone
Use our free Black Mold Removal Cost Estimator to get a tailored price range for your room, size, and severity — built from current national and regional pricing data. Then you'll know whether a contractor quote is fair before you commit.
Open the Cost Estimator →