Hydrogen Peroxide for Black Mold: A Practical Method

Hydrogen peroxide for black mold is the option I reach for most often, and the reason is narrow but genuine: it penetrates slightly into porous surfaces where bleach simply sits on top, and it breaks down into water and oxygen rather than leaving a residue you need to worry about.
It is not the strongest thing you can buy. It is the one with the best balance of effectiveness, safety and surface compatibility for the kind of small-to-moderate mold problems homeowners actually face.
From Sukie's experience
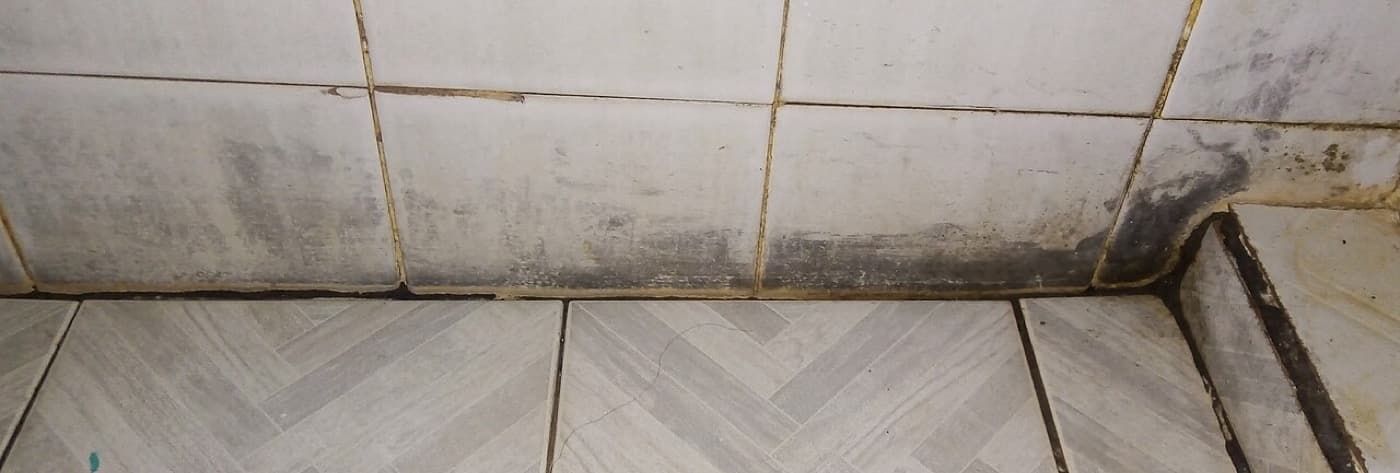
Our bathroom grout was the test case. I had been using bleach on it for a year — it went white every time and grey again within a month. Switching to 3% peroxide left in place for a full fifteen minutes before scrubbing was the first thing that held past the following season.
Why peroxide rather than bleach
Hydrogen peroxide is an oxidiser. It attacks mold by breaking down the cell walls and the proteins inside them, and it does so without chlorine, without fumes that drive you out of the room, and without leaving anything behind — it decomposes into plain water and oxygen.
The advantage over bleach that actually matters is penetration. Household bleach is largely water, and its active chlorine does not travel into a porous material well; it reacts at the surface. Peroxide is a smaller, less reactive molecule that soaks in a little further. On grout, on painted drywall, on timber, that difference shows up as growth that stays gone rather than returning in a few weeks.
It is also worth noting what the EPA says about biocides generally: for routine mold cleanup they are not considered necessary, and the objective is to physically remove the growth rather than to kill it in place. Dead mold still triggers allergic responses. So treat peroxide as an aid to removal, not a replacement for scrubbing.
Which concentration to buy
The brown bottle in every pharmacy is 3% hydrogen peroxide, and for almost all household mold work that is the correct choice. It is effective, it is a couple of dollars, and it is safe to handle with ordinary gloves.
Higher concentrations are sold — 6%, 12%, and 35% "food grade" — and the internet occasionally recommends them for mold. I would not. At 12% and above, peroxide causes immediate skin burns and can ignite organic material; 35% is a genuinely hazardous chemical requiring proper handling. The gain in mold-killing performance does not justify it for a bathroom wall.
Buy it in the opaque brown bottle it comes in, not decanted into clear plastic. Peroxide degrades on exposure to light — that is exactly what the brown bottle is for. If yours has been open in a bright bathroom for a year, it may be closer to water than to a fungicide.
Not sure if it's a DIY job or a pro job?
Get a ballpark price first, then decide.
Estimate my removal cost →What it works on, and what it doesn't
Peroxide is unusually well tolerated across surfaces, which is much of its appeal. It is safe on tile, grout, sealed concrete, glass, metal, plastic, laminate, most painted surfaces and sound timber.
Two cautions. It is a mild bleaching agent, so it can lighten coloured fabrics, unsealed natural stone and some dyed grouts — test somewhere hidden first. And on genuinely porous material where growth has gone deep, peroxide penetrates further than bleach but still not far enough. Drywall with growth through the paper into the gypsum core needs cutting out, not treating. That is a property of the material, not a failure of the chemical.
Where it particularly earns its keep is grout and caulk. Both are porous, both stay damp in a bathroom, and both are exactly where bleach's surface-only action disappoints people — the joint whitens, looks clean, and greys again within weeks because the colony inside the joint was never reached. Peroxide's slight penetration is the difference. Caulk is the harder case of the two: silicone that has gone black through its thickness is generally past saving, and cutting it out and re-sealing produces a better result than any amount of treatment. Our guide to removing mold from shower caulk and grout walks through when to treat and when to replace.
On timber, peroxide is a reasonable first choice precisely because sound wood is a partial exception to the porous rule. Surface growth on structurally sound framing or joinery can often be cleaned and dried rather than replaced — the mold sits on the surface of the grain rather than rotting the wood. If the timber is soft, spongy or darkened through its section, that is decay rather than surface mold and it is a structural question, not a cleaning one.
Before you start: the two things that matter most
Find and stop the water. Every guide says this and most readers skim it, so here it is as its own point: if you do not fix the moisture source, you are cleaning on a schedule rather than solving a problem. Look behind the wall, above the ceiling, at the sealant around the tub, at the humidity level in the room.
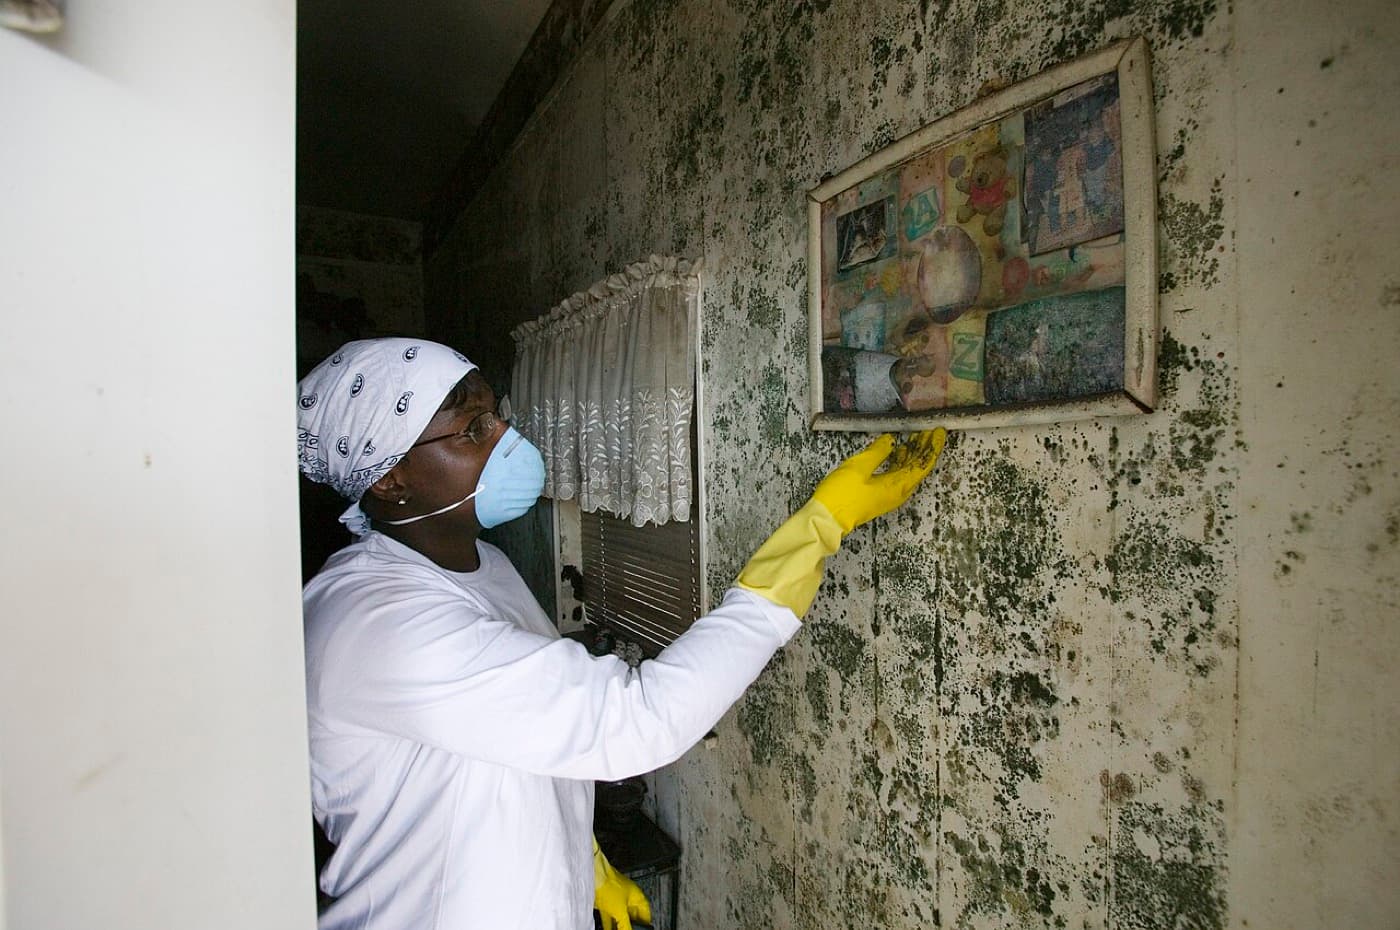
Second, protect yourself before you disturb anything. An N95 respirator, gloves, and eye protection without ventilation holes. Cleaning mold puts spores into the air, and the moment of highest exposure is the moment you start scrubbing.
Step 1 — Contain the room
Close interior doors. Switch off central heating or air conditioning so the system does not carry spores to other rooms. Open a window in the affected room and put a fan in it blowing outward, not inward. If the patch is substantial, tape plastic sheeting across the doorway.
Step 2 — Mist before you touch
Lightly spray the growth with water or with the peroxide itself before doing anything else. Dry mold releases spores freely when disturbed; damp mold largely stays where it is. This single habit does more for your air quality than any mask.
Step 3 — Apply and wait
Pour 3% peroxide undiluted into a spray bottle and saturate the area generously. Then leave it alone for a full ten to fifteen minutes.
This waiting period is the step people skip, and skipping it is the main reason peroxide gets a reputation for not working. Contact time is what allows the oxidation to complete and what lets the liquid soak into grout lines and paint. Spraying and immediately wiping accomplishes very little. Set a timer and go and do something else.
On a vertical surface where the spray runs off, a paper towel soaked in peroxide and pressed against the area holds it in contact — a useful trick on shower walls and ceilings.
Step 4 — Scrub
Work the surface with a stiff brush. On grout, use a narrow grout brush or an old toothbrush that reaches into the joint, because that is where the colony actually lives — the tile face is incidental. On painted drywall, use moderate pressure with a soft brush or sponge; aggressive scrubbing damages the paint film and opens the surface up to future growth.
The physical removal is the part that counts. The chemistry helps you get there.
Step 5 — Wipe, then repeat if needed
Wipe away the loosened material with a damp cloth, rinsing it in a bucket kept separate from your clean water. Look at the surface once it dries. Stubborn areas — deep grout, textured paint — often need a second application, and a second round with proper contact time usually finishes what the first started.
If a third round changes nothing, stop. At that point the growth is inside the material and no amount of surface treatment will reach it.
Step 6 — Dry properly
Fans and a dehumidifier, running for days rather than hours. Target relative humidity below 50%. A surface that is clean but still damp is simply a clean surface waiting to be recolonised — the spores are already in the air, everywhere, all the time. Moisture is the only variable that decides whether they establish.
This is worth a little rigour rather than guesswork. A basic hygrometer costs under fifteen dollars and takes the argument out of it: put one in the room and watch what actually happens over a few days rather than assuming the room feels dry. Bathrooms routinely spike above 70% relative humidity during a shower and stay there for an hour afterwards if the extractor fan is switched off with the light. Running the fan for fifteen to twenty minutes after you leave is one of the highest-value habits available, and it costs nothing.
If readings stay stubbornly high after the surface is dry, the moisture is coming from somewhere structural rather than from daily use — and that is the thing to chase next, because no cleaning schedule outruns a live water source.
Step 7 — Dispose of the debris safely
Bag cloths, brush heads, paper towels and any removed material inside the room, seal the bag, and carry it directly outside. Do not walk a bag of mold debris through the house to the kitchen bin.
Combining peroxide with vinegar — and what never to mix
A common home method uses peroxide and white vinegar in sequence, and it is legitimate provided you do it correctly. Apply peroxide, allow contact time, scrub and wipe. Then, separately, apply vinegar and allow it its own contact time. The logic is that the two work through different mechanisms — oxidation and acidity — so species resistant to one may not resist the other.
The critical detail: apply them separately, in sequence, never mixed in the same bottle. Combining hydrogen peroxide and acetic acid produces peracetic acid, which is corrosive and an eye and respiratory irritant. There is no benefit that justifies it.
Two absolute prohibitions worth stating plainly. Never mix hydrogen peroxide with bleach. Never mix bleach with ammonia or with vinegar. These combinations produce genuinely dangerous gases, and people are hospitalised for it every year.
For the wider comparison of home approaches, our guide to black mold removal home remedies covers vinegar, baking soda, tea tree oil and the rest, and what kills black mold ranks the commercial options against the household ones.
When to stop and call someone
Peroxide is a good tool for a small job. It is the wrong response to a large one. Hand the work to a certified remediation contractor if the affected area is larger than about ten square feet, if growth has reached the wall cavity or framing, if it involves your HVAC ducting, if the water was sewage or floodwater, or if anyone in the household has asthma, an immune condition or a chronic respiratory illness.
The same applies if you have treated a spot repeatedly and it keeps coming back — that is a moisture problem wearing a mold costume, and the fix is upstream of anything in a spray bottle. Our cost guide and the cost estimator will tell you what professional work should run before you make the call, which is the best defence against an inflated quote.
Get a realistic price before you call anyone
Use our free Black Mold Removal Cost Estimator to get a tailored price range for your room, size, and severity — built from current national and regional pricing data. Then you'll know whether a contractor quote is fair before you commit.
Open the Cost Estimator →