Black Splotches on Walls: A Diagnostic Walkthrough

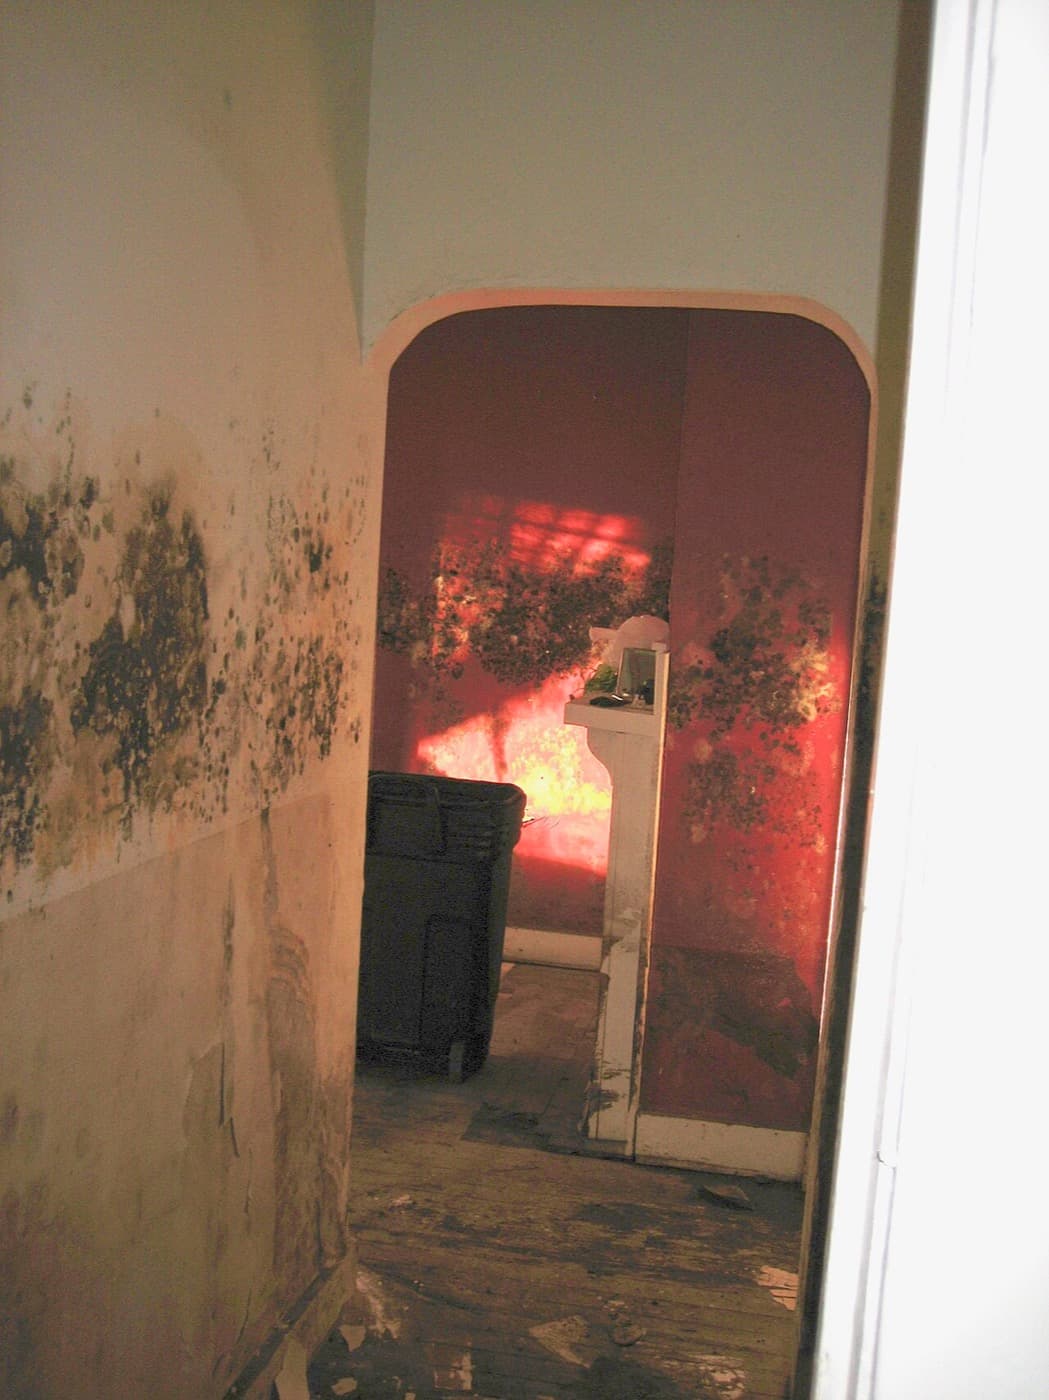
Black splotches on walls send a lot of people straight to a search bar at eleven at night, and the honest answer is that they have at least five different common causes. Mold is one. So is soot. So is a plumbing leak that stopped two years ago and left a permanent stain, and so is the completely harmless thermal pattern that shows you where your wall studs are.
They need different responses and they cost wildly different amounts to deal with. This page is organised as a diagnostic walkthrough rather than an article: work through it in order and you should be able to place your splotches into one of the categories below with reasonable confidence.
From Sukie's experience
In our basement I spent a weekend treating what I was certain was a mold bloom on the wall behind the washing machine. It turned out to be efflorescence — mineral salt pushed out through the block by water moving through it. The white crystalline version is obvious; the darker, damp-looking version genuinely fooled me until I rubbed it and it powdered.
Step one: what shape are they, and where exactly?
Before texture, before smell, before anything else — look at the geometry. The distribution of black splotches on walls narrows the cause faster than any other single observation, because each mechanism leaves a characteristic signature.
Stand back far enough to see the whole wall, then look at it from a low angle with a torch held nearly flat against the surface. Raking light like this reveals texture and pattern that flat overhead lighting completely hides.
| What you see | Most likely cause | What it means |
|---|---|---|
| Evenly spaced vertical stripes, full height of wall | Thermal ghosting on studs | Not mold. Dust settling on cold spots where framing conducts heat. Cosmetic — an insulation issue at worst. |
| Splotches concentrated in a corner, worst near ceiling | Condensation mold | Cold surface plus humid air. Fix ventilation and heating, not just the wall. |
| A defined patch with a rough circular edge | Mold from a point-source leak | Water is arriving at one specific spot. Look directly behind or above it. |
| Growth stopping at a clean horizontal line | Historic water level | The wall was wet to that height. Common after flooding or in basements. |
| Speckles spread thinly across a whole wall | Room-wide humidity | The room itself is too damp. A dehumidifier changes more than cleaning will. |
| Dark halo above a heat source, radiator or candle shelf | Soot deposition | Combustion residue. Clean it and improve ventilation of the appliance. |
| A brown-edged stain with a tide-line, dry to touch | Old water stain | A leak that has since stopped. Seal and repaint once you've confirmed it's dry. |
| Powdery, crystalline, on masonry or concrete | Efflorescence | Mineral salts carried out by moisture. Signals water movement through the wall. |
If your splotches match one of the non-mold rows convincingly, you can stop worrying about remediation and address the actual cause. Thermal ghosting in particular gets treated as mold constantly, and no amount of cleaning fixes it, because the marks are dust, not growth.
Step two: three physical tests that settle it
Pattern gets you most of the way. These three tests get you the rest, and none of them take more than a minute.
The damp cloth test. Wipe a small area with a damp white cloth. Soot and dirt transfer readily and leave the wall visibly lighter — you will see the black on the cloth. Mold smears rather than lifts, and the surface stays discoloured underneath. Efflorescence powders under your finger and often dissolves with water.
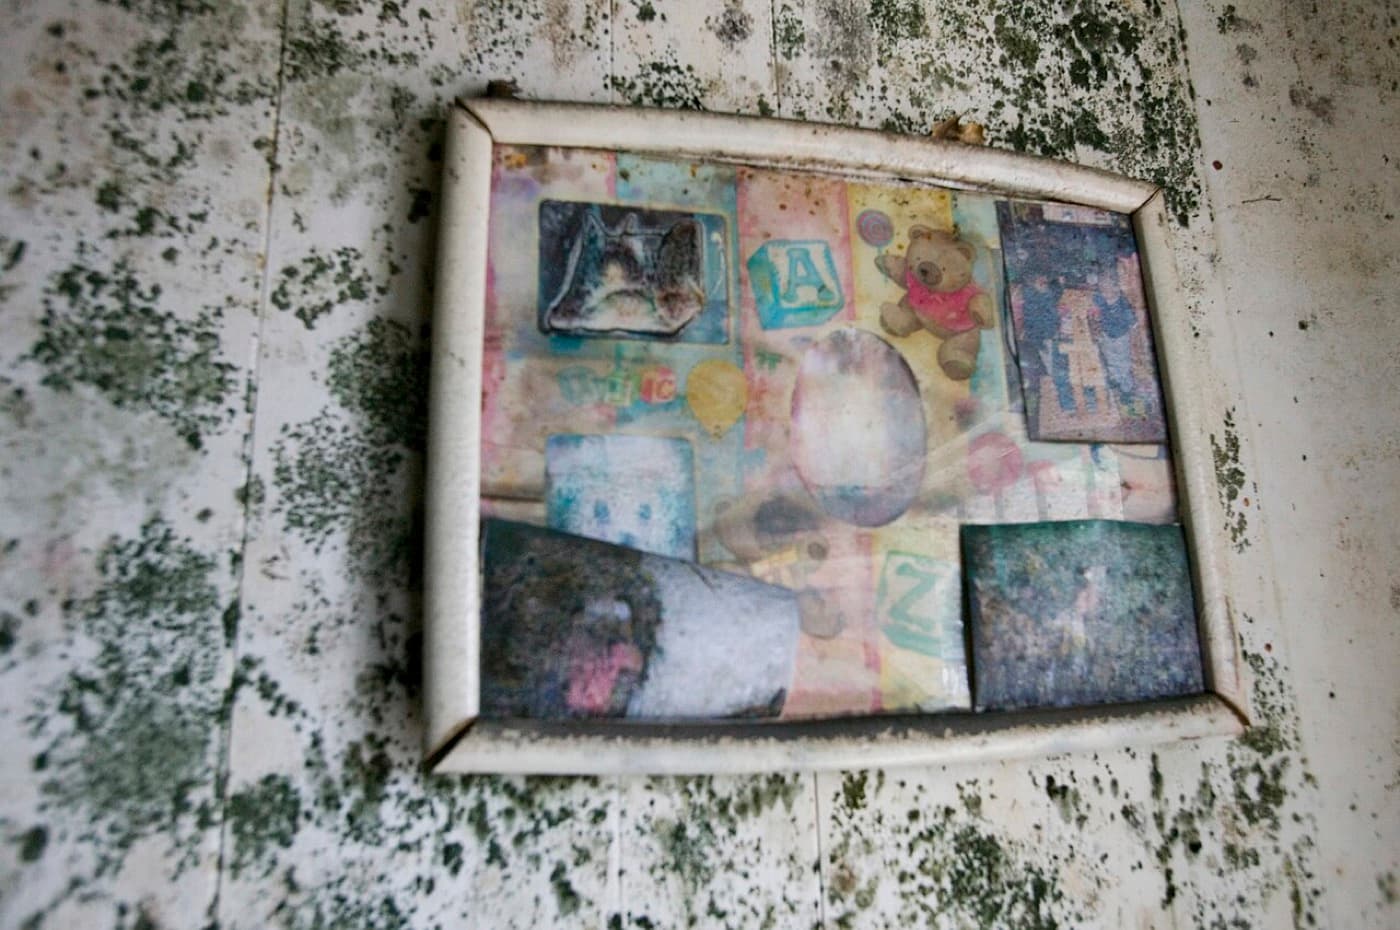
The raking light texture test. With your torch held nearly parallel to the wall, look for relief. Mature mold growth has three-dimensional texture that casts tiny shadows. Stains, ghosting and soot are perfectly flat. This one test separates active biological growth from everything else more reliably than colour ever will.
The moisture reading. A pin-type or pinless moisture meter costs $20 to $40 and removes most of the guesswork. Take readings on the splotches and then in a grid outward from them, plus a baseline reading on a wall you know is dry. Elevated moisture means an active problem regardless of what the marks turn out to be. Normal readings on a black patch strongly suggest a historic stain, soot or ghosting rather than live mold.
There is also the smell, which people underrate. Active mold growth in quantity produces a distinctive earthy, musty odour — the microbial compounds released as it metabolises. If a room smells musty and the smell is stronger near the wall, near the floor, or when the heating comes on, you are probably dealing with genuine growth, possibly more of it than is visible. Our guide to what black mold smells like covers how to use scent to locate hidden growth.
What none of these tests can tell you is the species. You cannot identify Stachybotrys by eye, and per the CDC's mold guidance, knowing the species generally would not change what you do anyway. Any significant indoor growth gets removed and the moisture behind it fixed. Testing is worth paying for in specific circumstances — a legal dispute with a landlord, a real estate transaction, or an unexplained health issue where a doctor wants the information — but rarely just to satisfy curiosity.
Not sure if it's a DIY job or a pro job?
Get a ballpark price first, then decide.
Estimate my removal cost →Step three: if it is mold, how bad is it really?
Assuming the tests point to mold, the next question determines everything about cost and approach: is this a surface problem or a structural one?
The EPA's cleanup guidance uses roughly ten square feet as the threshold where homeowner cleanup stops being appropriate — about a three-foot by three-foot patch. That number is a reasonable rule of thumb, but the visible area is not the whole story. Two other factors matter as much.
The first is what the wall is made of. Mold on a non-porous surface — glazed tile, sealed concrete, glass, metal — sits on top and cleans off completely. Mold on a porous surface — unsealed drywall, bare wood, wallpaper, carpet, ceiling tile — grows into the material. On drywall specifically, once growth is through the paper facing and into the gypsum core, surface cleaning removes the appearance and leaves the colony. That section has to come out.
The second is whether the wall cavity is involved. Visible splotches on the face of a wall are frequently the small end of something larger behind it. If your moisture readings extend well beyond the visible marks, if the musty smell outlasts a thorough surface clean, or if the same patch has returned after you cleaned it once, the growth is in the cavity. At that point you are choosing between opening the wall yourself or bringing in someone who does it for a living.
Three situations move this out of DIY territory regardless of size: mold in or near HVAC ducting, because the system will distribute spores through the whole house; anything involving sewage or floodwater, which brings contamination beyond the mold itself; and any household where someone has asthma, a compromised immune system or an ongoing respiratory condition. In that last case the calculus is about who is standing in the room while the spores are airborne, and it is worth paying someone else to be that person.
For what professional work actually costs, our black mold removal cost guide breaks down typical pricing by scenario, and the cost estimator gives a range for your specific room and severity before you speak to anyone.
A short detour: document it before you touch it
This step costs five minutes and occasionally saves thousands, so it is worth doing before you clean anything.
Photograph the splotches properly. Take a wide shot showing the whole wall and its position in the room, a mid-range shot showing the pattern, and a close-up with something for scale — a ruler, a coin, your hand. Then take the same three shots with raking torchlight, which captures texture the flat images lose. If you have a moisture meter, photograph the display against the wall showing the reading.
Why bother? Because cleaning destroys the evidence, and there are several situations where you will wish you had it:
- You rent. In most jurisdictions a landlord has an obligation to maintain habitable conditions, and dated photographs establish both the existence and the timeline of the problem. Report it in writing — email, not a phone call — and keep the reply. Our guide to renters' rights around black mold covers how this typically works.
- You might claim on insurance. Home insurance usually excludes mold arising from long-term neglect but may cover it when it results from a sudden covered event, such as a burst pipe. Documentation of the sequence matters enormously to that distinction — see whether insurance covers black mold removal.
- You will get contractor quotes. Being able to show a remediation company what the wall looked like before you cleaned it produces far more accurate estimates, and makes it harder for anyone to inflate the scope.
- You are buying or selling. A documented, properly remediated problem with a paper trail is a much smaller obstacle in a transaction than an undocumented stain someone painted over.
Keep a note of dates too — when you first noticed it, when it was reported, when anything was done. A one-line record in your phone is enough, and it is far more persuasive later than a recollection.
Step four: fixing it so the splotches don't come back
Whatever the cause, the fix has the same two-part structure: address the mechanism, then address the appearance. Doing it in the other order is why so many people clean the same wall repeatedly.
For condensation mold, the mechanism is a cold surface meeting humid air. Get relative humidity under 50% with a dehumidifier or better ventilation, run extractor fans in bathrooms and kitchens for fifteen to twenty minutes after use rather than switching them off with the light, pull furniture a couple of inches off exterior walls so air can circulate behind it, and where practical improve insulation on the cold surface itself. Our guide on preventing black mold goes into the humidity side in more detail.
For leak-driven mold, the mechanism is water arriving where it shouldn't. Find and stop it before any cleaning — plumbing on the far side of the wall, failed sealant around a shower or tub, roof and gutter issues if the growth is high, ground water if the wall is below grade. Then dry the structure properly, which means fans and a dehumidifier running for days, not hours.
For soot, clean with a dry chemical sponge first rather than water, which spreads greasy residue, then wash with detergent. Address why combustion products are entering the room — an underventilated appliance, a fireplace drawing poorly, or simply a lot of candles.
For thermal ghosting, cleaning helps temporarily but the marks return every winter because the mechanism is a thermal bridge. Improving insulation is the real fix; reducing dust and soot in the air slows how fast it reappears.
For efflorescence, brush off the deposit dry, then deal with the water moving through the masonry — usually drainage, grading or a damp-proofing failure. Sealing the surface without addressing the water traps moisture inside the wall and makes things worse.
Only once the mechanism is fixed and the surface is dry does redecoration make sense. Applying a stain-blocking primer over a dry, cleaned surface will stop old water stains bleeding through your topcoat. Painting over active mold or a still-damp wall simply buys you a few months before the same splotches reappear through the new paint — and the peeling that follows costs more to fix than doing it properly the first time. See cleaning mold off walls before painting for the sequence that actually holds.
Get a realistic price before you call anyone
Use our free Black Mold Removal Cost Estimator to get a tailored price range for your room, size, and severity — built from current national and regional pricing data. Then you'll know whether a contractor quote is fair before you commit.
Open the Cost Estimator →